Phase 4 – Fast Forward Using Photographs
14 - 12
2013
Fortunately, I learned how to develop stories from tidbits of information when I worked overseas as a writer, using the information I obtained from interviews with certain people to write feature stories about someone they met in an important trip they took.
This skill is very similar to the skill obtained by intense study of photographs for extracting information that is useful in making a dimensional view of a subject. I do not use the term “copying photographs,” because it hints at an inexpert slavishness. I do not recommend painting from photographs to my beginning painters, either. Oh, all right, if you are a self-declared hobbyist who wants a one-time likeness, go ahead. However, my emphasis is on, rather than training copyists, training ‘informationists.’
Fortunately, I had all of that background including training in Old Masters’ figure drawing and painting in Europe. The Master Painter, Herr Bergheim, who taught in his studio in Munich specialized in developing awareness of common flaws in perspectives of facial and figure anatomy and three-dimensionality.
 Figure of Woman w Musical Instrument 001 Positive
For a committed painter who aims higher on the spectrum, you want to learn figure drawing. You want to have had multiple courses of drawing from a model, 10-second poses, 30-second poses, 1-3 minutes, 5-10-15, etc. You want to understand the human body as an s-bend and not a straight stick. You want to know how the arms hang in apposition to the hips when standing. You want to know, on a face, why the lines are there, why the eyebrow dips further down on a 3-quarter pose—because it bends around a corner—as in, the head is a rounded square. You want to know dark side/light side on a head.
Then, and only then, can I turn you loose on a photograph.
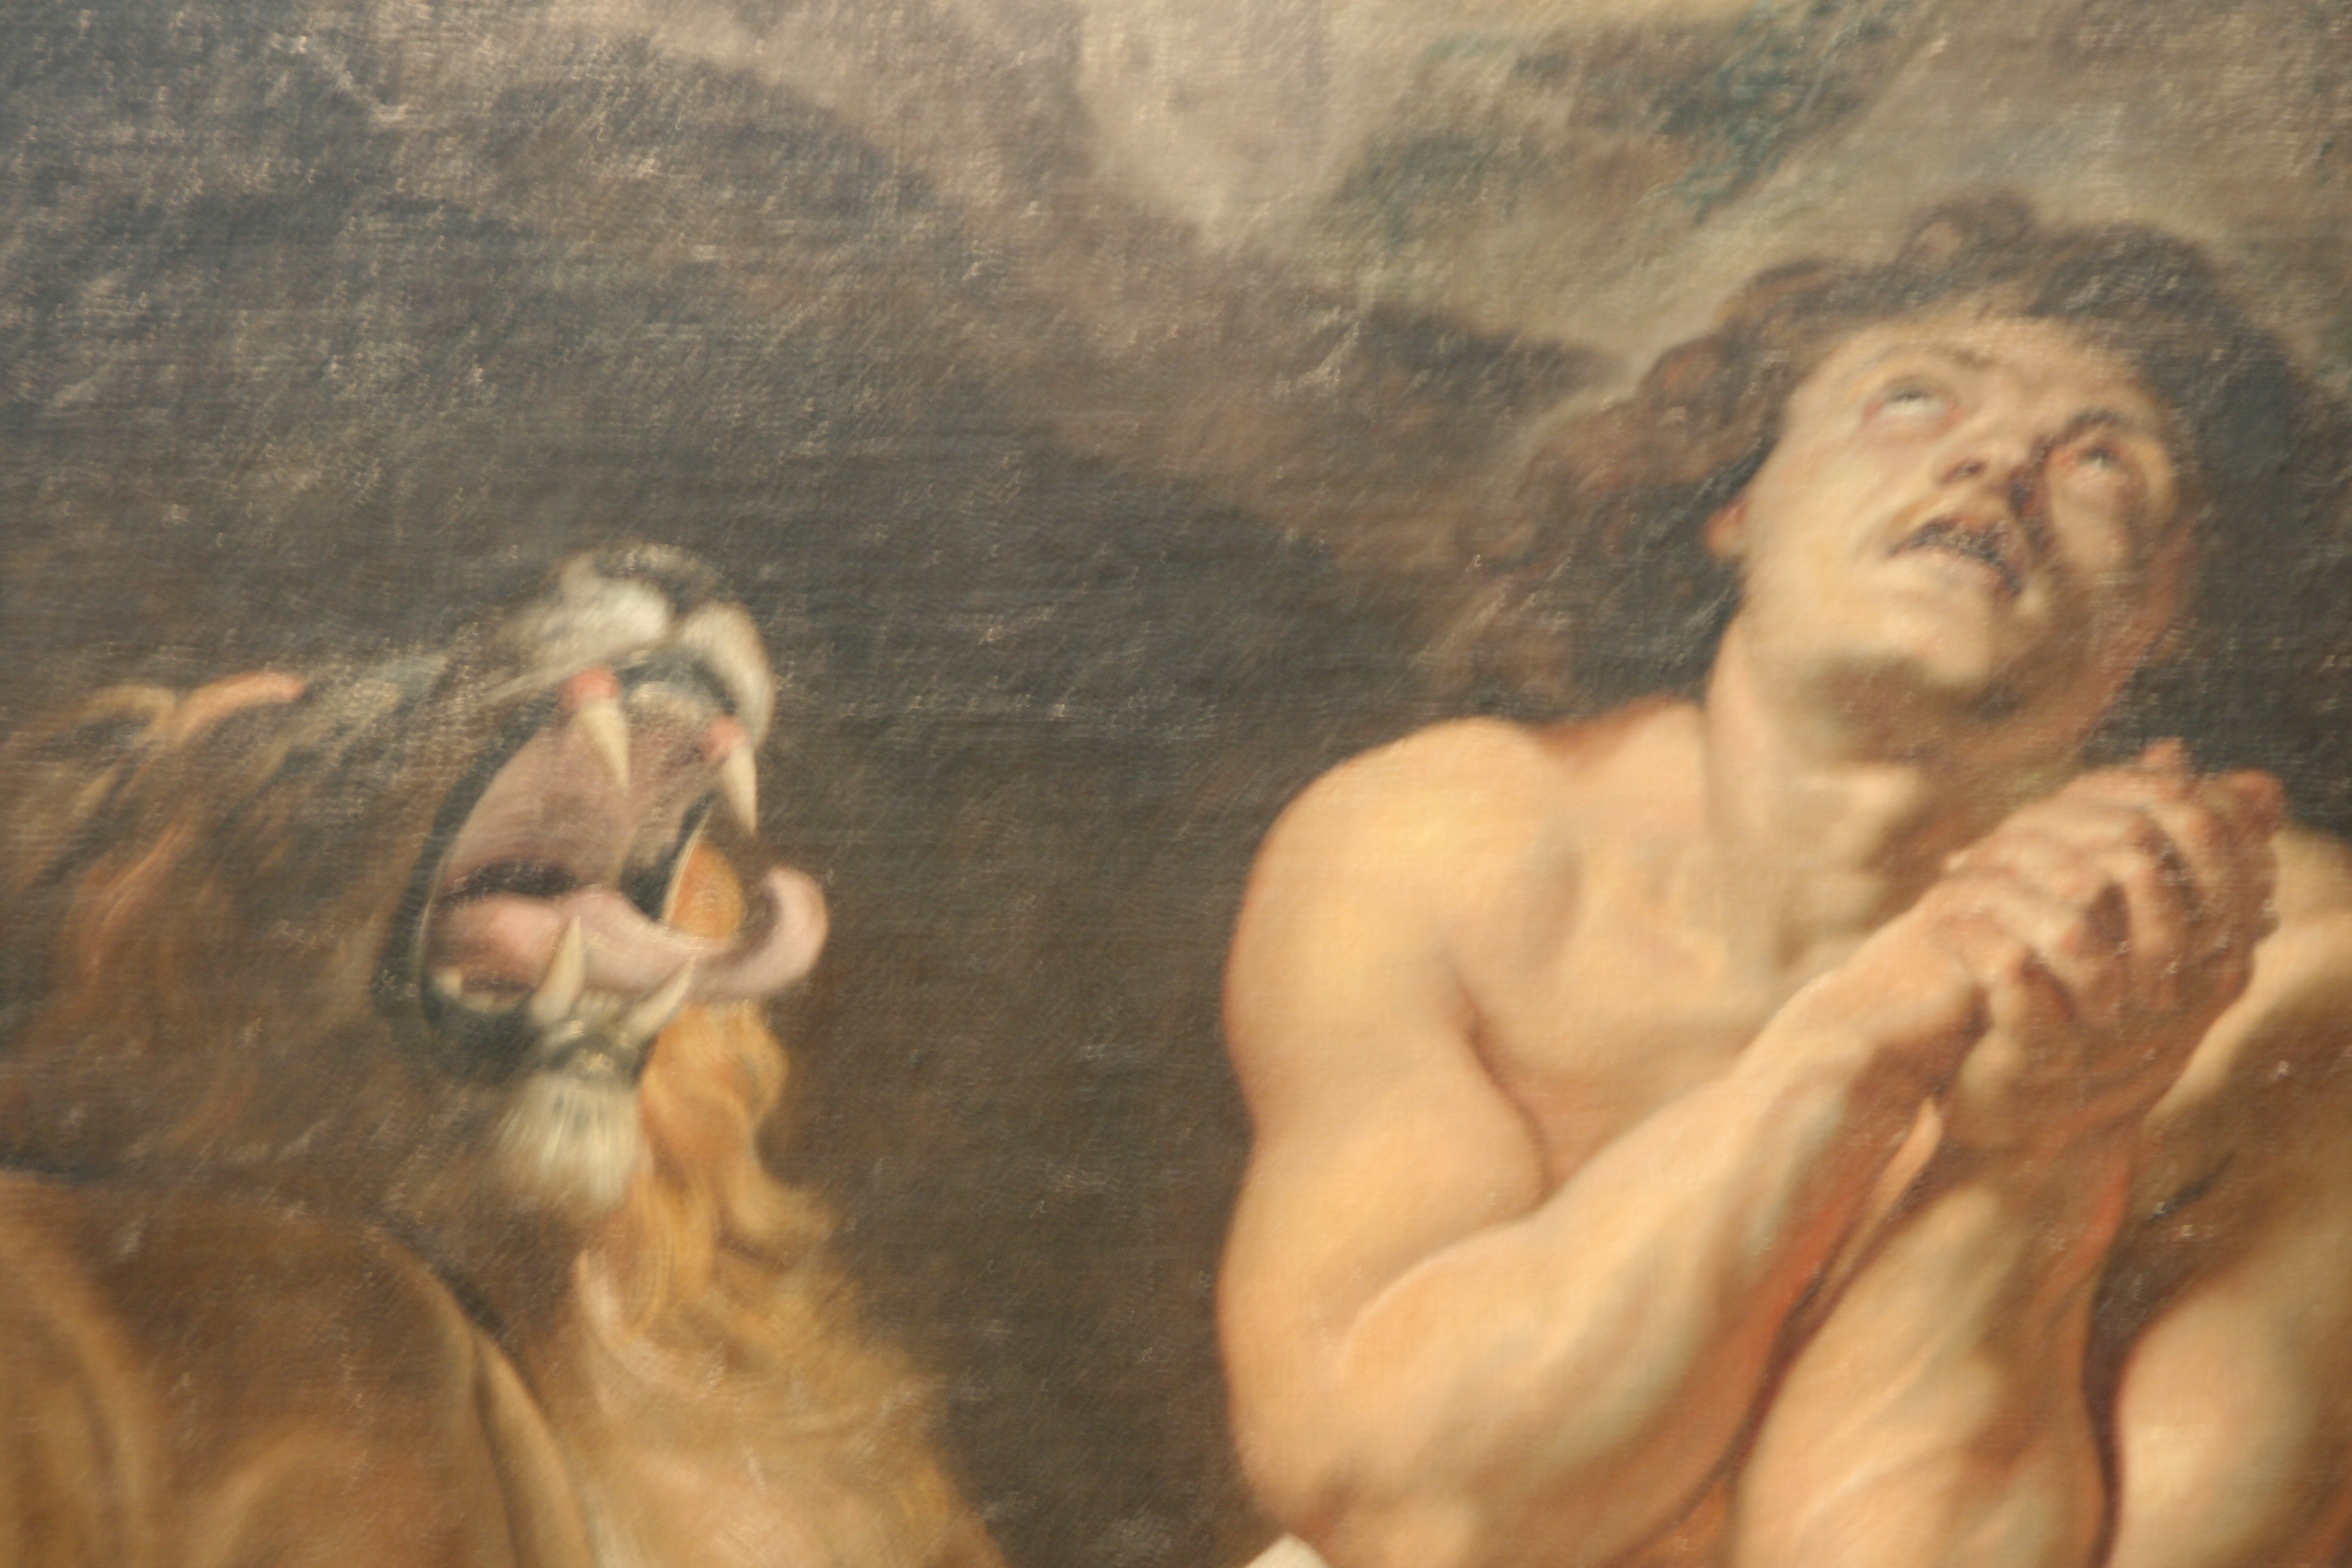
Daniel in the Lions’ Den hangs in D.C., and daily visits are way too expensive. The photographs I took of Daniel were integral to the process, and the main reason I took the trip. They were my ‘takeaway’ from the experience. Let me share the progress of one view.
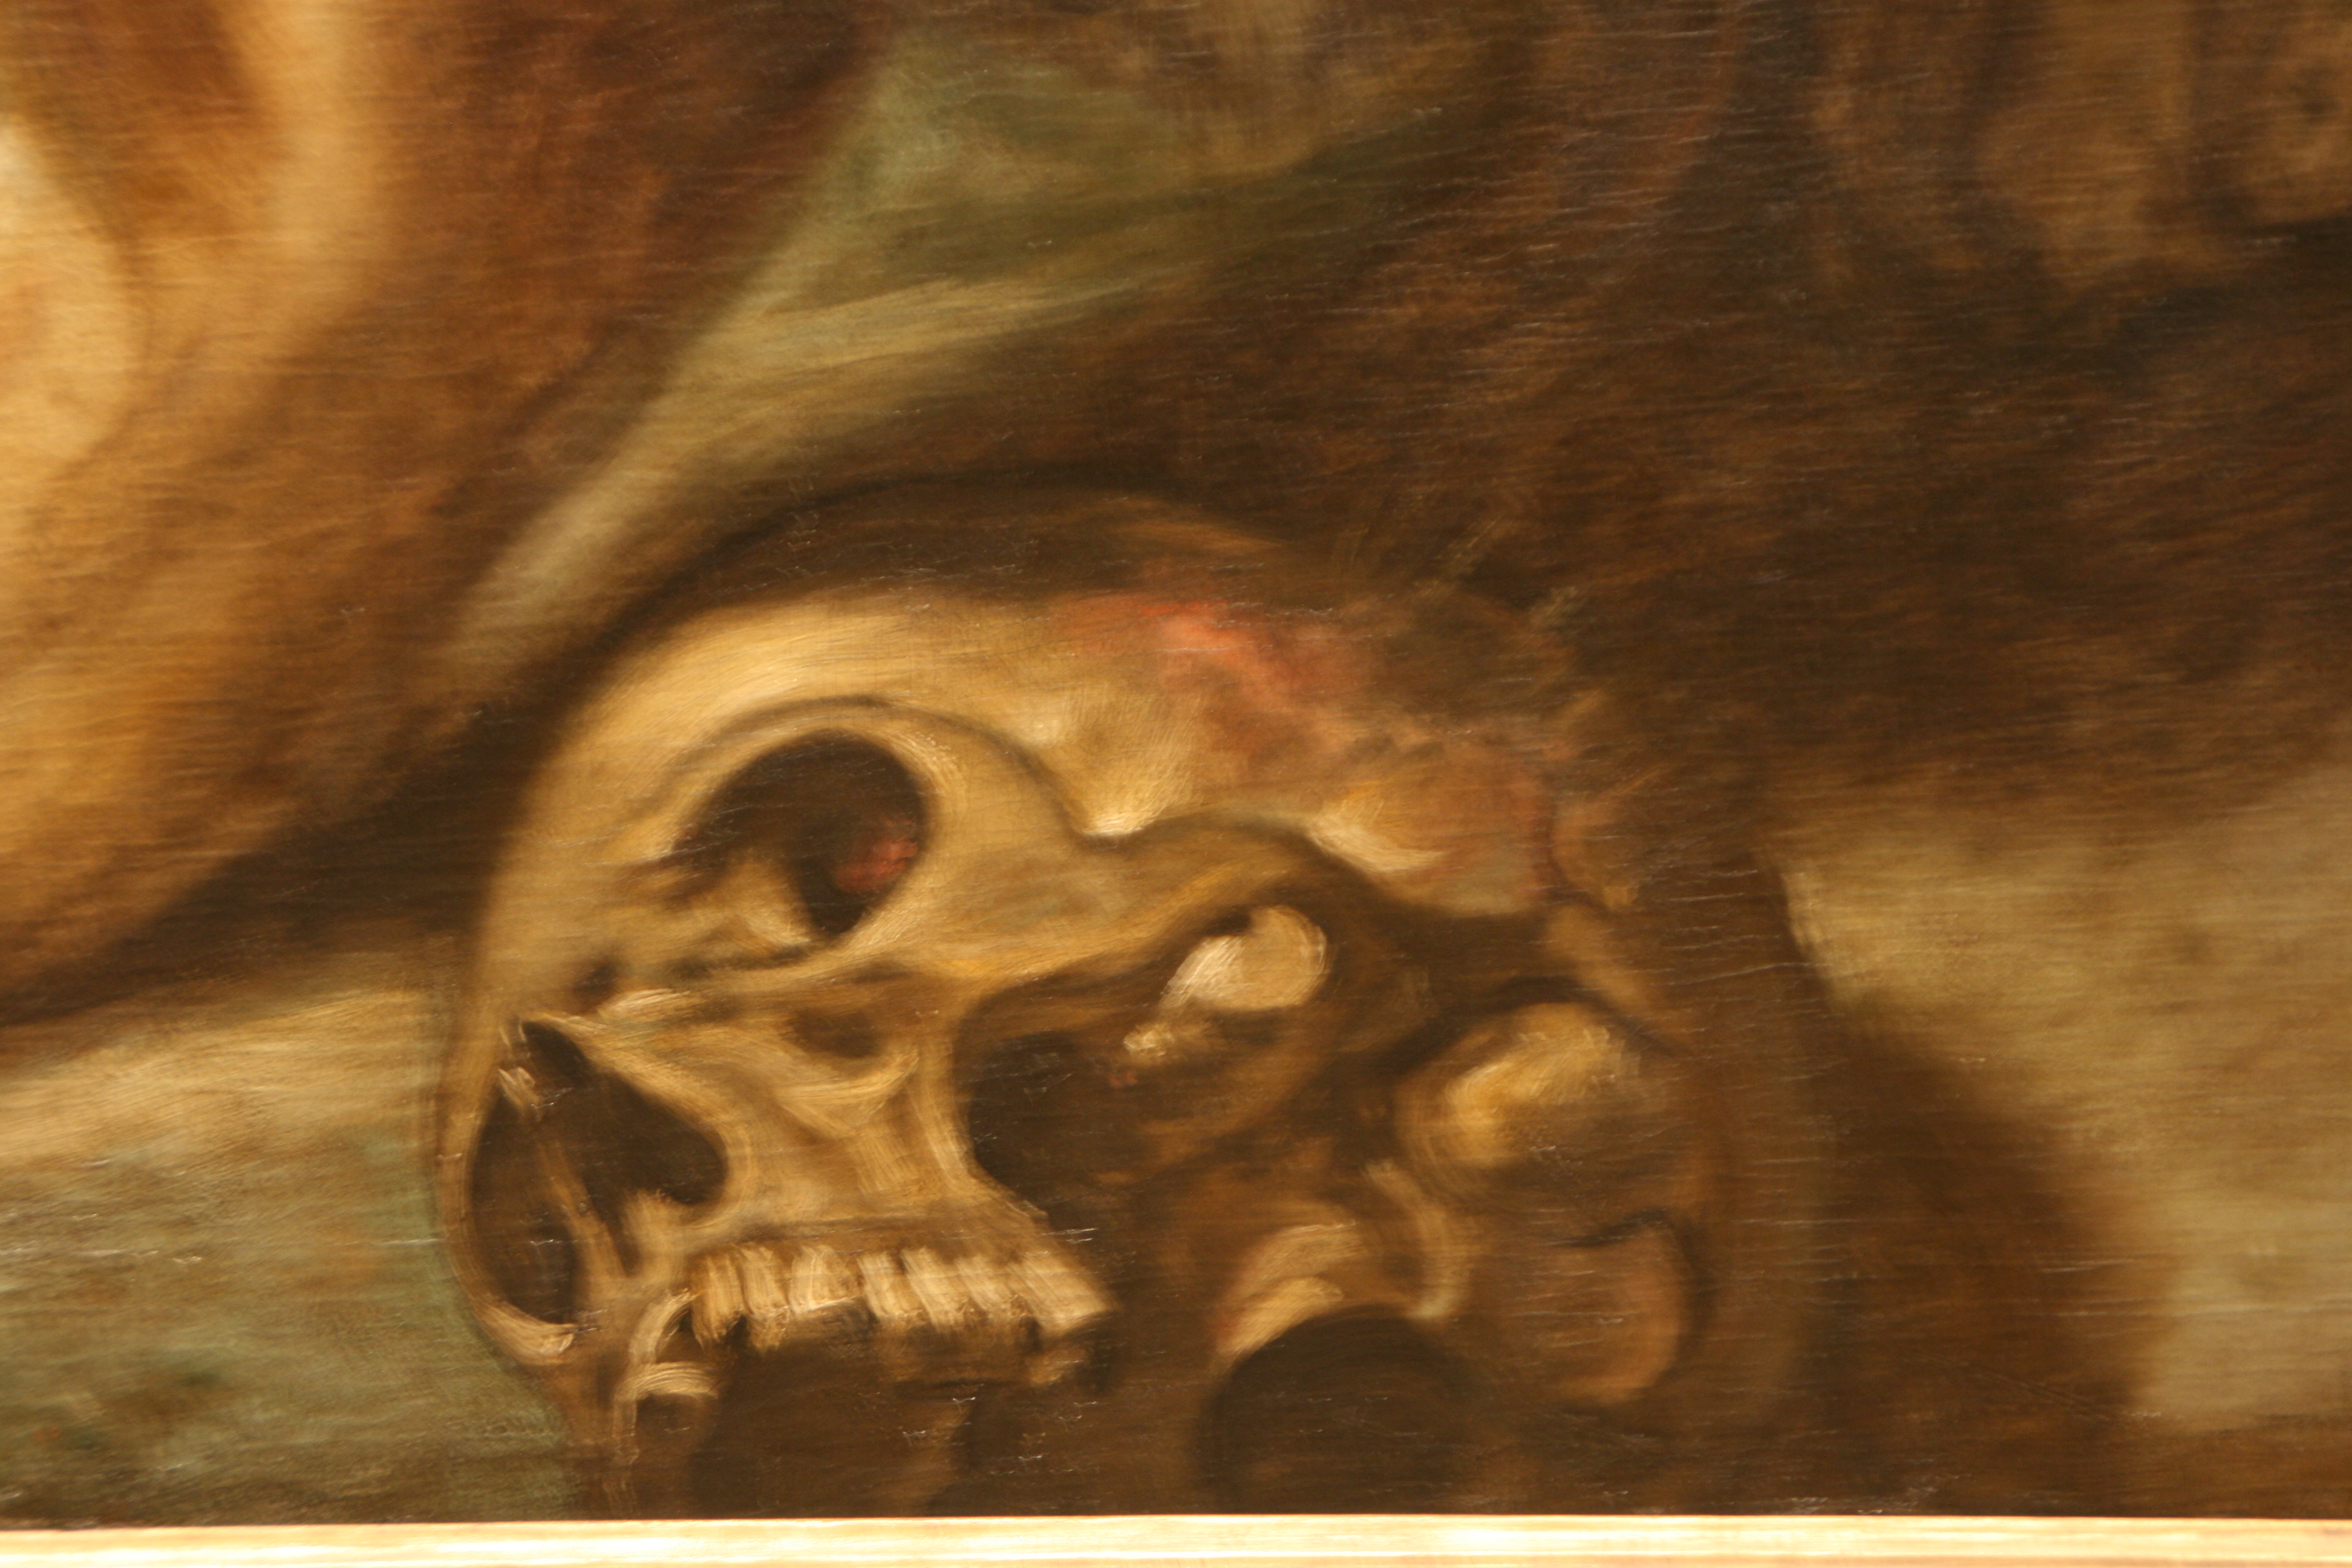
 partial of museum painting
Here is one of the smaller portraits photographed from the whole. This lion took multiple revisions, but a revision merely pushes and pulls on the painting you have begun. They are close. No huge erasures are necessary, just pushing and pulling.
![1175134_595792013806191_1972117313_n[2]](https://joriginals.net/wp-content/uploads/2013/12/1175134_595792013806191_1972117313_n2.jpg)
I began by blocking in colors which I immediately began tweaking.
![1378769_606341199417939_456327840_n[2] - Copy](https://joriginals.net/wp-content/uploads/2013/12/1378769_606341199417939_456327840_n2-Copy.jpg)
As the painting developed, the lion’s head rounded, the eye became distinct, the chin hair thickened, the teeth moved slightly. Differences in coloring were due somewhat to glazes added, but are also due to differences in photography.
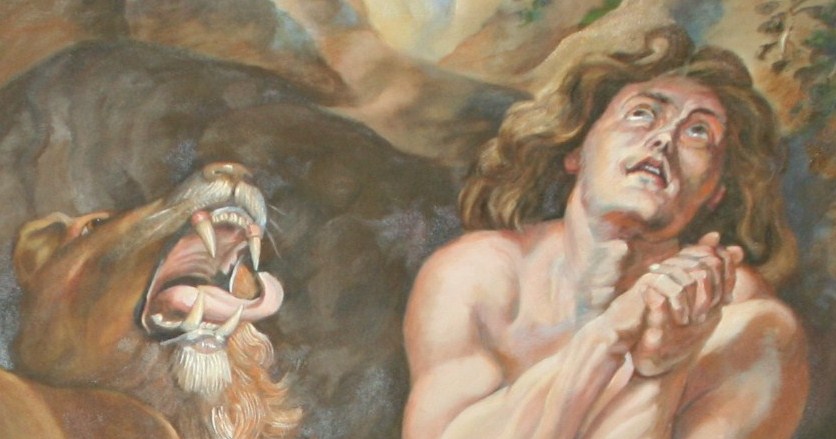
In this version, behind the lion’s tongue was deepened, teeth grayed down, roof of the mouth corrected, mouth opening decreased, and hair layers built up. Daniel’s face and hair were corrected to the original. The cave opening was not lightened; that caught the light of the flash.
![541886_10151867873104694_1243631060_n[1]](https://joriginals.net/wp-content/uploads/2013/12/541886_10151867873104694_1243631060_n1.jpg)
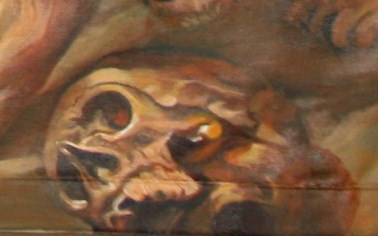
This is from a photograph of my final version, with the added notation of the original painter, Peter Paul Rubens and the one who followed his original with my own original of his…moi.
Back to my thread in the article, to the knowledge of anatomy: This knowledge leads me to the correction of what photographs and students mis-saw in Daniel’s anatomy for a period of months. In fact, I was the one who had the ‘aha’ moment and showed them. They then saw what the original drawing was rather than the illusionary distortion we had all accepted that made us think Peter Paul had gotten it all wrong.
This was due to the painting of light next to light, light stomach next to light arm, an abutment thereby fusing the two sections in the mind’s eye. So a conjoined bloated body and a malformed arm were, with only minor changes, corrected in contour line as well as in subtle color, which performed the separating operation and perceptibly altered the original misconception.
Similar distortions appeared in Daniel’s hands and feet which leant a grotesque nature to them. Continued staring, concentration on the original photograph, meshing this knowledge with the knowledge of correct anatomy as seen by posing living models in these positions helped work out these kinks.
Squinting is another Old Masters’ technique for achieving proportion and color contrast. It creates the relative lights and darks which cause high level accuracy in transferring a painting, as does walking backwards ten feet to view your work at frequent intervals. Colors are rarely absolute, but rather are proportional to one another.
After determining that the lines and masses from left to right were primarily safe to follow, I began to change the drawing from top to bottom, as the extending had occurred primarily in the front center involving the snoozing lion, the snarling lion, and the retreating lion. This allowed me to re-position the bones as well.
So in segments, using the photographed mini-portraits within the big portrait, the work moved forward—each lion individually, Daniel, the drape, the right rock, the bottom strip, and the top opening which went through several corrective phases.
Proportional corrections were most profound in the feet of the standing lion due to another illusion created by the protruding toes of one lion lining up with the receding toes of another. Another problem solved by the use of photographs was finding Lion Number 10, the sleeping lion on the left, at all.
In conclusion, I can only say that photographs provide a well of information to be mined.
Leave A Reply
You must be logged in to post a comment.