Phase 3 – Bearding the Lion in His Den
07 - 12
2013
 Jumping in is always the best way to approach anything. Planning, waiting, scheming just postpones the inevitable moment of truth.
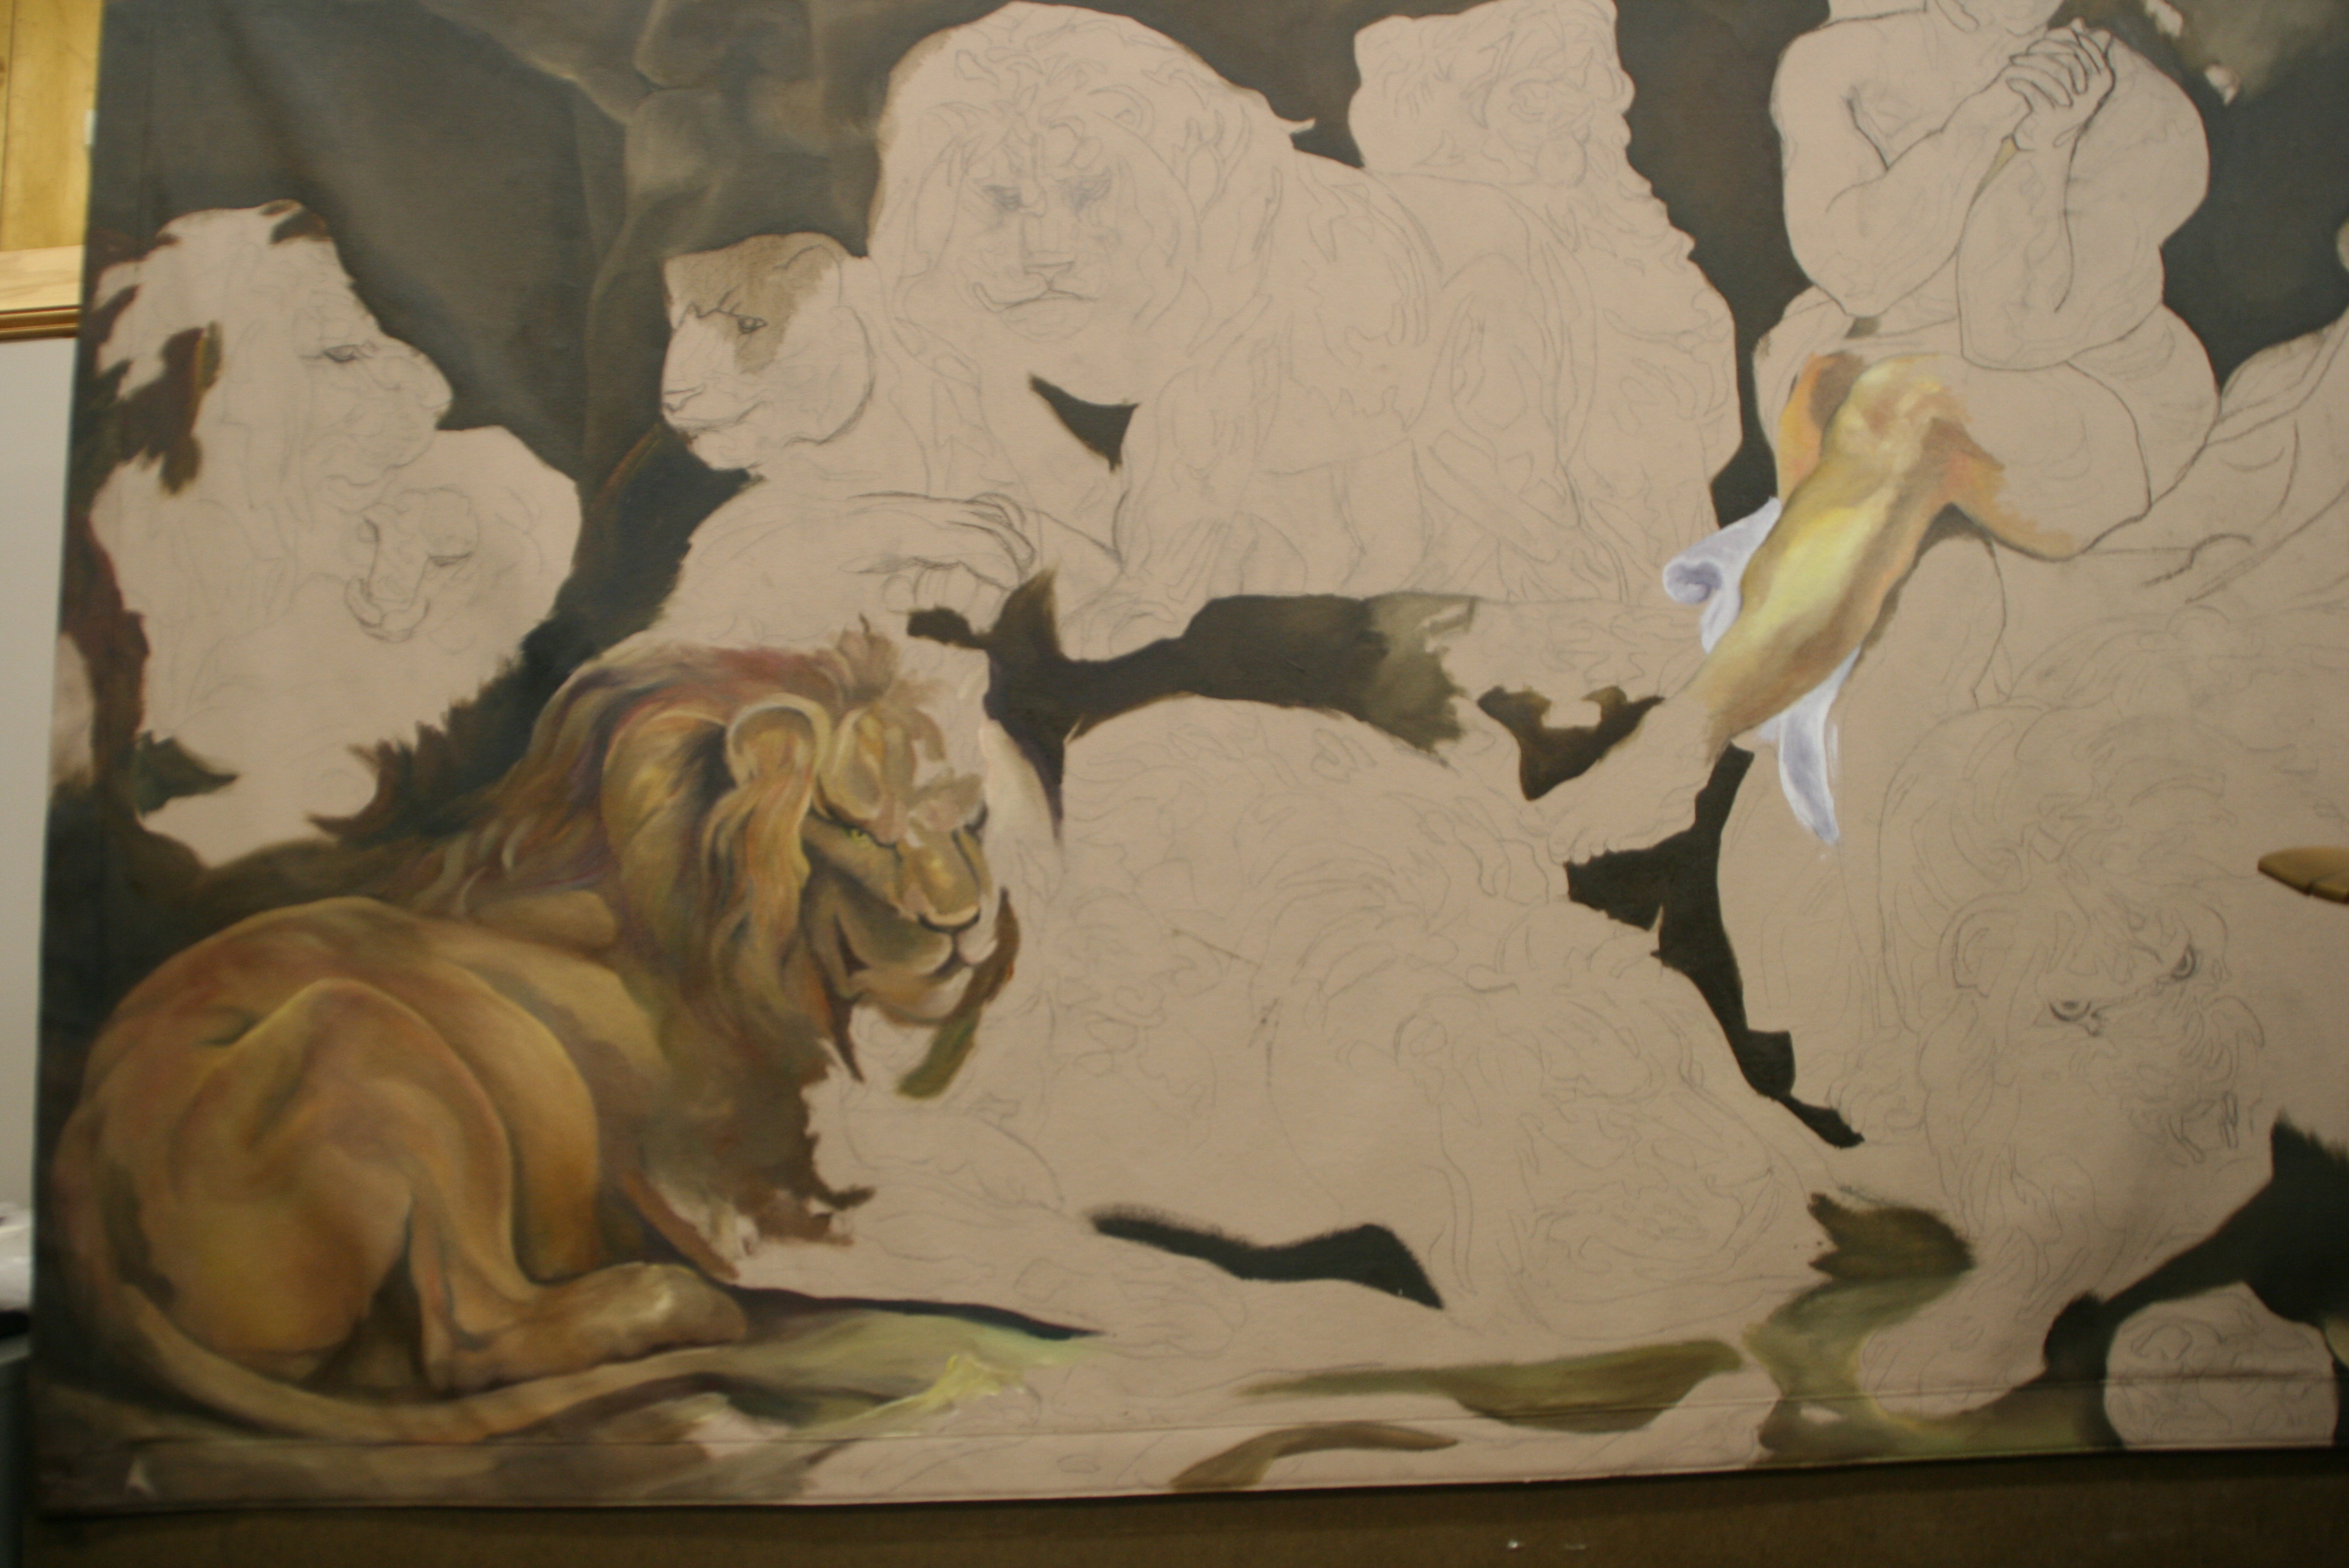
My art teacher in printmaking at Methodist University told me once when looking at my work, “you obviously have confidence.” I didn’t think so, but leaping in told her I did. Well, it takes a lot of nerve to walk into a lion’s den, home to 10 hearty lions, even if they are some five millennia removed. Let’s face it, I accepted this project willingly—I wasn’t thrown in by outsiders like Daniel.
The longest journey begins with the first step, right? And I had already had nerve enough to rough in some yellows and darker skin tones on Daniel’s leg. That decided me that I would go back to the lion.
This journey began with the right brushes, beautiful new long handles appropriately named Renaissance (it was a rebirth for me) acquired from the top class vendors at the Portrait Society of America’s annual convention the year before. I used the paints and palette supplied me by my client who still prefers to remain anonymous. I poured out the mineral spirits and the turpentine and flexed my muscles before the gi-normous canvas.
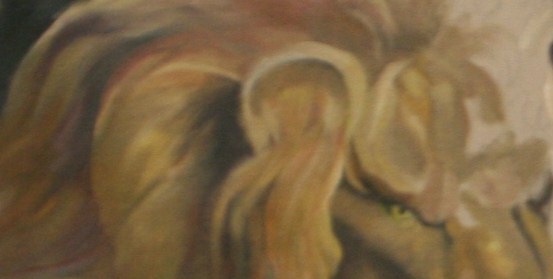
I began with the lovely color yellow ochre, a classical Old Masters’ color, rich and muted, bright and toned at the same time. Using my own personally-derived version of the color wheel, I punched it up into the light zone and down into the shadow zone in a continuous spectrum, avoiding the little numbered piles of paint used by some of the masters for left brain insertion. My style is particularly right-brain-achieved flow, tempered by left brain analysis.
In so doing I established a range of dark to light of this one color that took it from near black to near white. In the shadow zone I tinted it in one area with alizarin crimson, something I do knowledgeably after developing the base with burnt sienna and green. Deep colors don’t have to be browns and blacks from a tube with a factory name. My skill that I pass on to my students is in using complementary colors named in a way that evoke the color in a right-brained fashion—so you see it instantaneously—rather than learning by rote memory the factory names. This comes later and is a terrific brag point for art teaching, but has nothing to do with the visual effect of color and slows the process. It’s more a matter of pride in head knowledge over experiential
I milk the range of complementaries, internalizing by trial and error what others leave on the wheel (the color wheel chart). But this is getting too abstract for most of us, so I will save that for my advanced students. Although every artist worth his salt knows the color wheel and terrific methods of color mixing, I don’t know many who lean as heavily as I do on using the complementaries entirely for mixing, without resorting to adding browns and blacks from the tube. In learned discussions of museum pieces, I have heard my colleagues state from viewing a painting by a master that “he added black.” Now I don’t know about you, but how can you tell unless you see a bluish tint on a dark color? Personally, even my darkest colors are achieved by mixing colors, but I am not giving all my secrets away in one article.
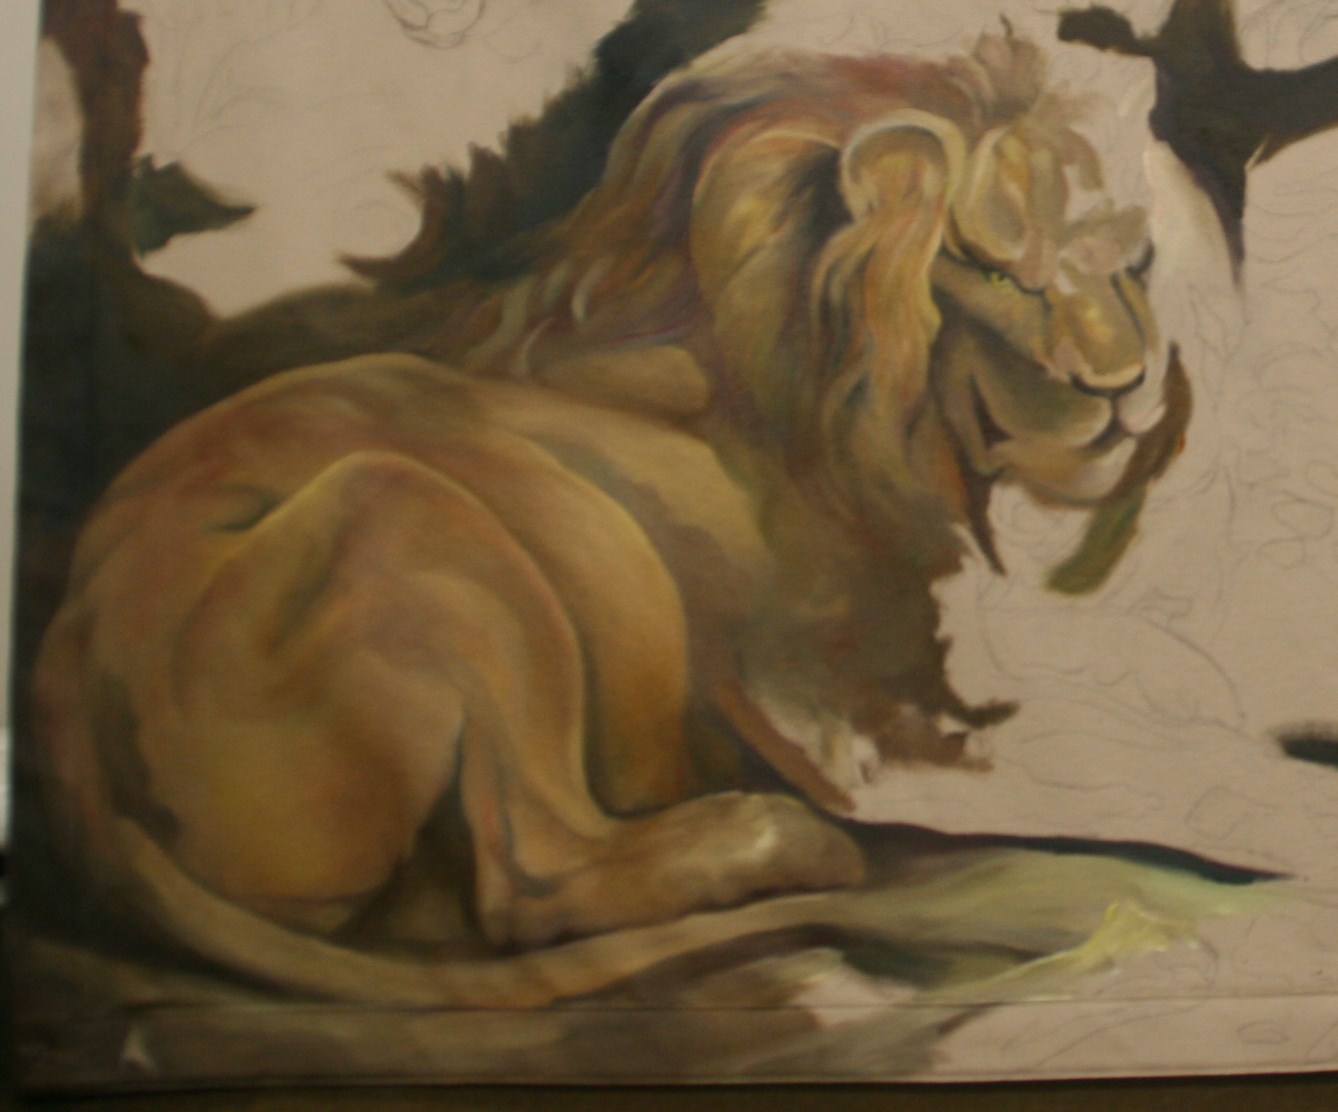
 Strokes—this is an all important area for drawing or painting anything organic—and must always follow the contours. Painting contours—indeed, even seeing the correct circular distortion of a contour—is one of the single most defining moments of a painting. In my classes I train my students to look for the warps. These are set in in pencil, then strengthened with every stroke of the brush…even when the brush is large and you are filling in, the difference shows immediately.
Notice how the contour of the lion’s belly defines his position and the angle of distortion is determined by the eye of the viewer. In fact, every muscle distinction that is defined by only color minus line is also painted in specific contours. Look in particular at the area of the hip just above the tail. Even the burnt siennas in the top of the belly are contoured.
At this point I lay in the color of everything in a wide range of differences done in a non-detailed manner. No fussiness at this phase, rather I am establishing a smooth undersurface for all the exciting movements of color—hair to glaze of eyes—that will come later. Yes, I differentiate the under layer of the hair from the under layer of the smooth belly to lay the groundwork for seamless additions, to achieve the look of hairs underneath, in mid-range, and sticking out, or the look of smoothed-down leather of the stomach, back and upper legs.
I am ecstatic.
At last, some color emerges, along with the total look of the lion. Believe me, this is only the beginning, but I do believe it is a good beginning, and I am raging to start the next phase, but must lay down my tools for now.
Leave A Reply
You must be logged in to post a comment.